# OpenCV with Python
# OpenCV + PyCharm
YouTube - Configuring OpenCV + PyCharm on Windows
# Resources
# Images and OpenCV
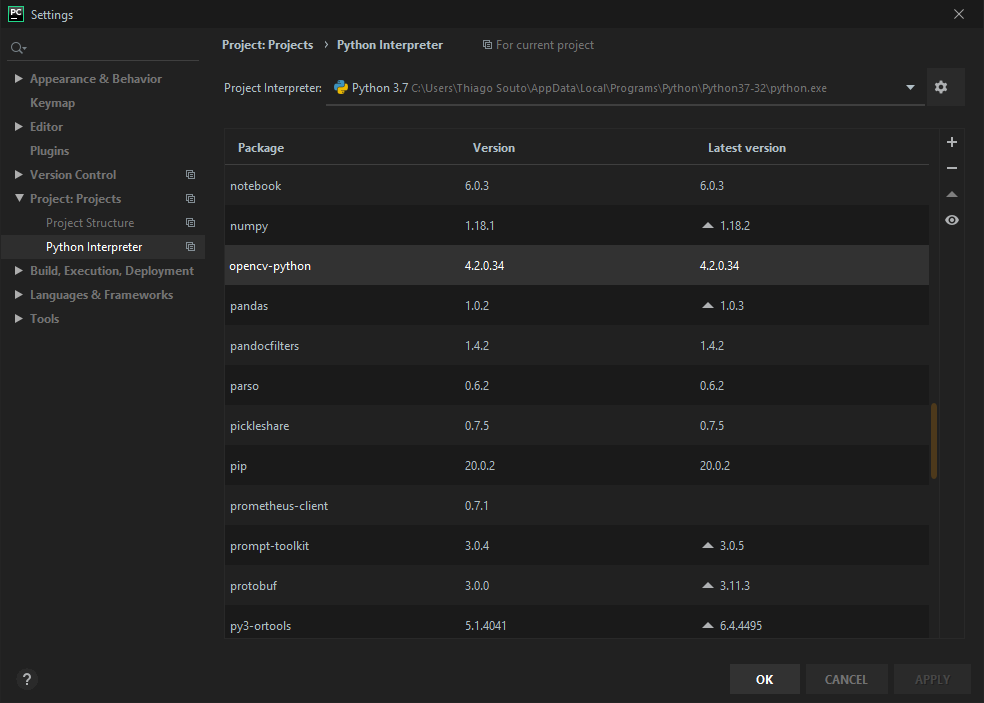
# OpenCV Instalation on PyCharm
On PyCharm, at the terminal window execute pip install opencv-python
Thiago Souto@MSI MINGW64 ~/Desktop/VUEPRESS/PROGRAMMING/docs/Projects/Python/OpenCV/OpenCV-01 (master)
$ pip install opencv-python
Collecting opencv-python
  Downloading opencv_python-4.2.0.34-cp37-cp37m-win_amd64.whl (33.0 MB)
     |████████████████████████████████| 33.0 MB 3.3 MB/s
Collecting numpy>=1.14.5
  Downloading numpy-1.18.2-cp37-cp37m-win_amd64.whl (12.8 MB)
     |████████████████████████████████| 12.8 MB 2.0 MB/s
Installing collected packages: numpy, opencv-python
Successfully installed numpy-1.18.2 opencv-python-4.2.0.34
2
3
4
5
6
7
8
9
10
Or better yet in settings -> Project -> Pyhthon Interpreter, install or make sure opencv-python is there.
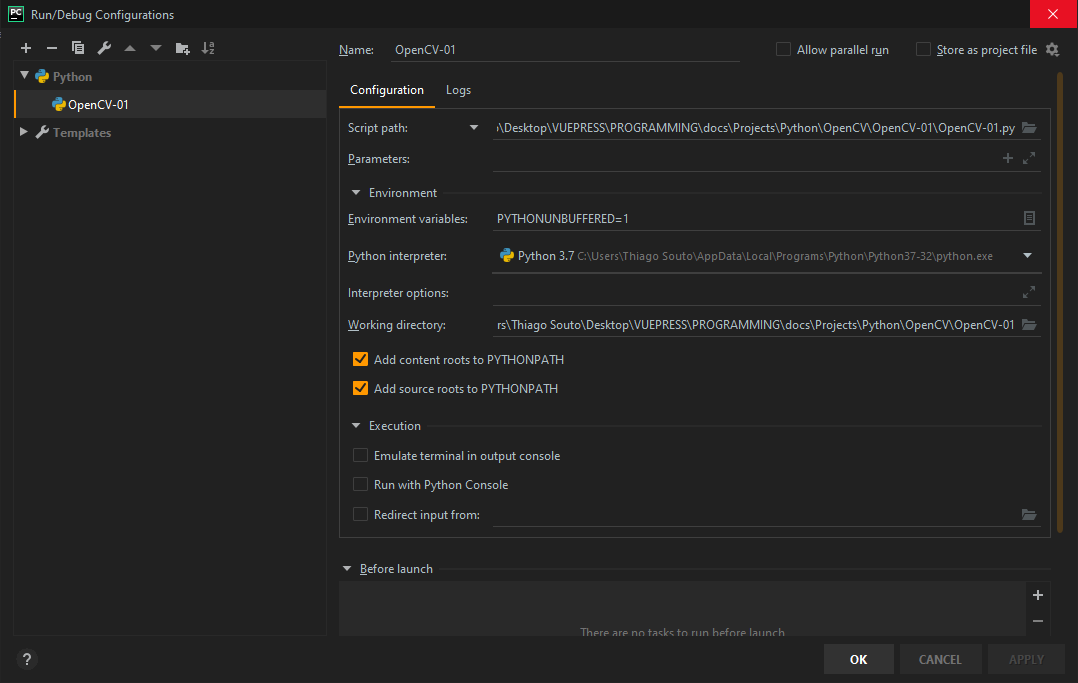
Configure the Run/Debug
import cv2

imgsrc = 'C:\\Users\\Thiago Souto\\Desktop\\VUEPRESS\\PROGRAMMING\\docs\\Projects\\Python\\OpenCV\\OpenCV-01\Andromeda.jpg'

img = cv2.imread(imgsrc, 0)
res = cv2.resize(img, (600, 650))
cv2.imshow('image', res)
cv2.waitKey(0)
cv2.destroyAllWindows()
2
3
4
5
6
7
8
9
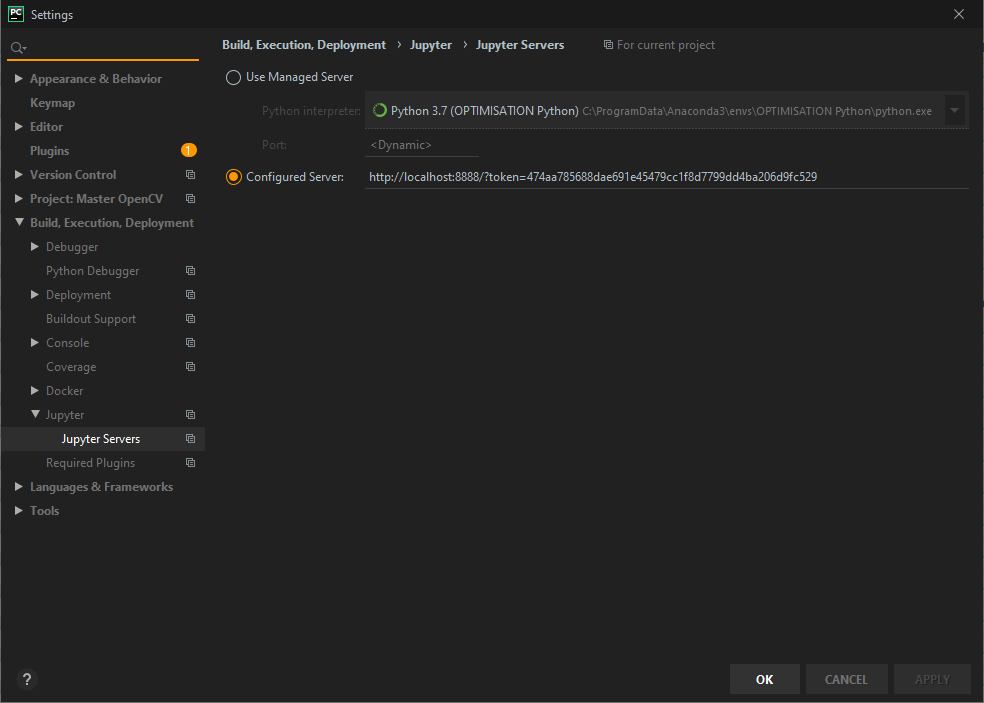
# Jupiter notebook on Pycharm
python -m notebook
Thiago Souto@MSI MINGW64 ~/Downloads/Master Computer Vision™ OpenCV4 in Python with Deep Learning/1. Course Introduction and Setup/9.1 MasteringComputerVision_V1.03.zip/Master OpenCV
$ python -m notebook
[I 23:08:58.774 NotebookApp] JupyterLab extension loaded from C:\Users\Thiago Souto\AppData\Local\Programs\Python\Python37-32\lib\site-packages\jupyterlab
[I 23:08:58.774 NotebookApp] JupyterLab application directory is C:\Users\Thiago Souto\AppData\Local\Programs\Python\Python37-32\share\jupyter\lab
[I 23:08:58.779 NotebookApp] Serving notebooks from local directory: C:\Users\Thiago Souto\Downloads\Master Computer Vision™ OpenCV4 in Python with Deep Learning\1. Course Introduction and Setup\9.1 MasteringComputerVision_V1.03.zip\Master OpenCV
[I 23:08:58.779 NotebookApp] The Jupyter Notebook is running at:
[I 23:08:58.779 NotebookApp] http://localhost:8888/?token=474aa785688dae691e45479cc1f8d7799dd4ba206d9fc529
[I 23:08:58.780 NotebookApp]  or http://127.0.0.1:8888/?token=474aa785688dae691e45479cc1f8d7799dd4ba206d9fc529
[I 23:08:58.780 NotebookApp] Use Control-C to stop this server and shut down all kernels (twice to skip confirmation).
[C 23:08:58.857 NotebookApp]

    To access the notebook, open this file in a browser:
        file:///C:/Users/Thiago%20Souto/AppData/Roaming/jupyter/runtime/nbserver-5440-open.html
    Or copy and paste one of these URLs:
        http://localhost:8888/?token=474aa785688dae691e45479cc1f8d7799dd4ba206d9fc529
     or http://127.0.0.1:8888/?token=474aa785688dae691e45479cc1f8d7799dd4ba206d9fc529
[I 23:09:55.124 NotebookApp] 302 GET /?token=474aa785688dae691e45479cc1f8d7799dd4ba206d9fc529 (::1) 1.00ms
2
3
4
5
6
7
8
9
10
11
12
13
14
15
16
17
Then,
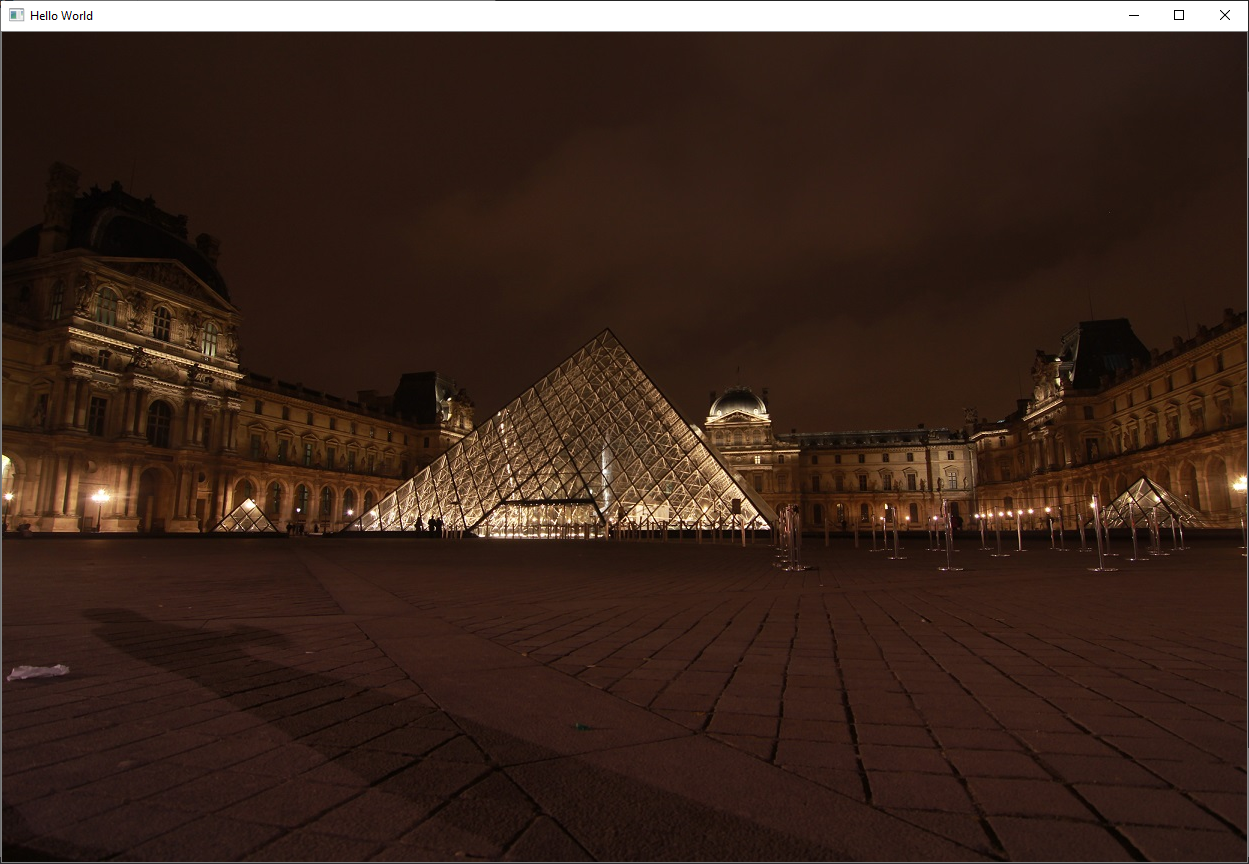
Let's now load our first image, we are going to use the commands.
import cv2
input = cv2.imread('./images/input.jpg')
cv2.imshow('Hello World', input)
cv2.waitKey()
cv2.destroyAllWindows()
#%%

# We don't need to do this again, but it's a good habit
import cv2

# Load an image using 'imread' specifying the path to image
input = cv2.imread('./images/input.jpg')

# Our file 'input.jpg' is now loaded and stored in python
# as a varaible we named 'image'

# To display our image variable, we use 'imshow'
# The first parameter will be title shown on image window
# The second parameter is the image varialbe
cv2.imshow('Hello World', input)

# 'waitKey' allows us to input information when a image window is open
# By leaving it blank it just waits for anykey to be pressed before
# continuing. By placing numbers (except 0), we can specify a delay for
# how long you keep the window open (time is in milliseconds here)
cv2.waitKey()

# This closes all open windows
# Failure to place this will cause your program to hang
cv2.destroyAllWindows()
2
3
4
5
6
7
8
9
10
11
12
13
14
15
16
17
18
19
20
21
22
23
24
25
A cleaner code for this would be:
import cv2

input = cv2.imread('./images/input.jpg')

cv2.imshow('Hello World', input)
cv2.waitKey(0)
cv2.destroyAllWindows()
2
3
4
5
6
7
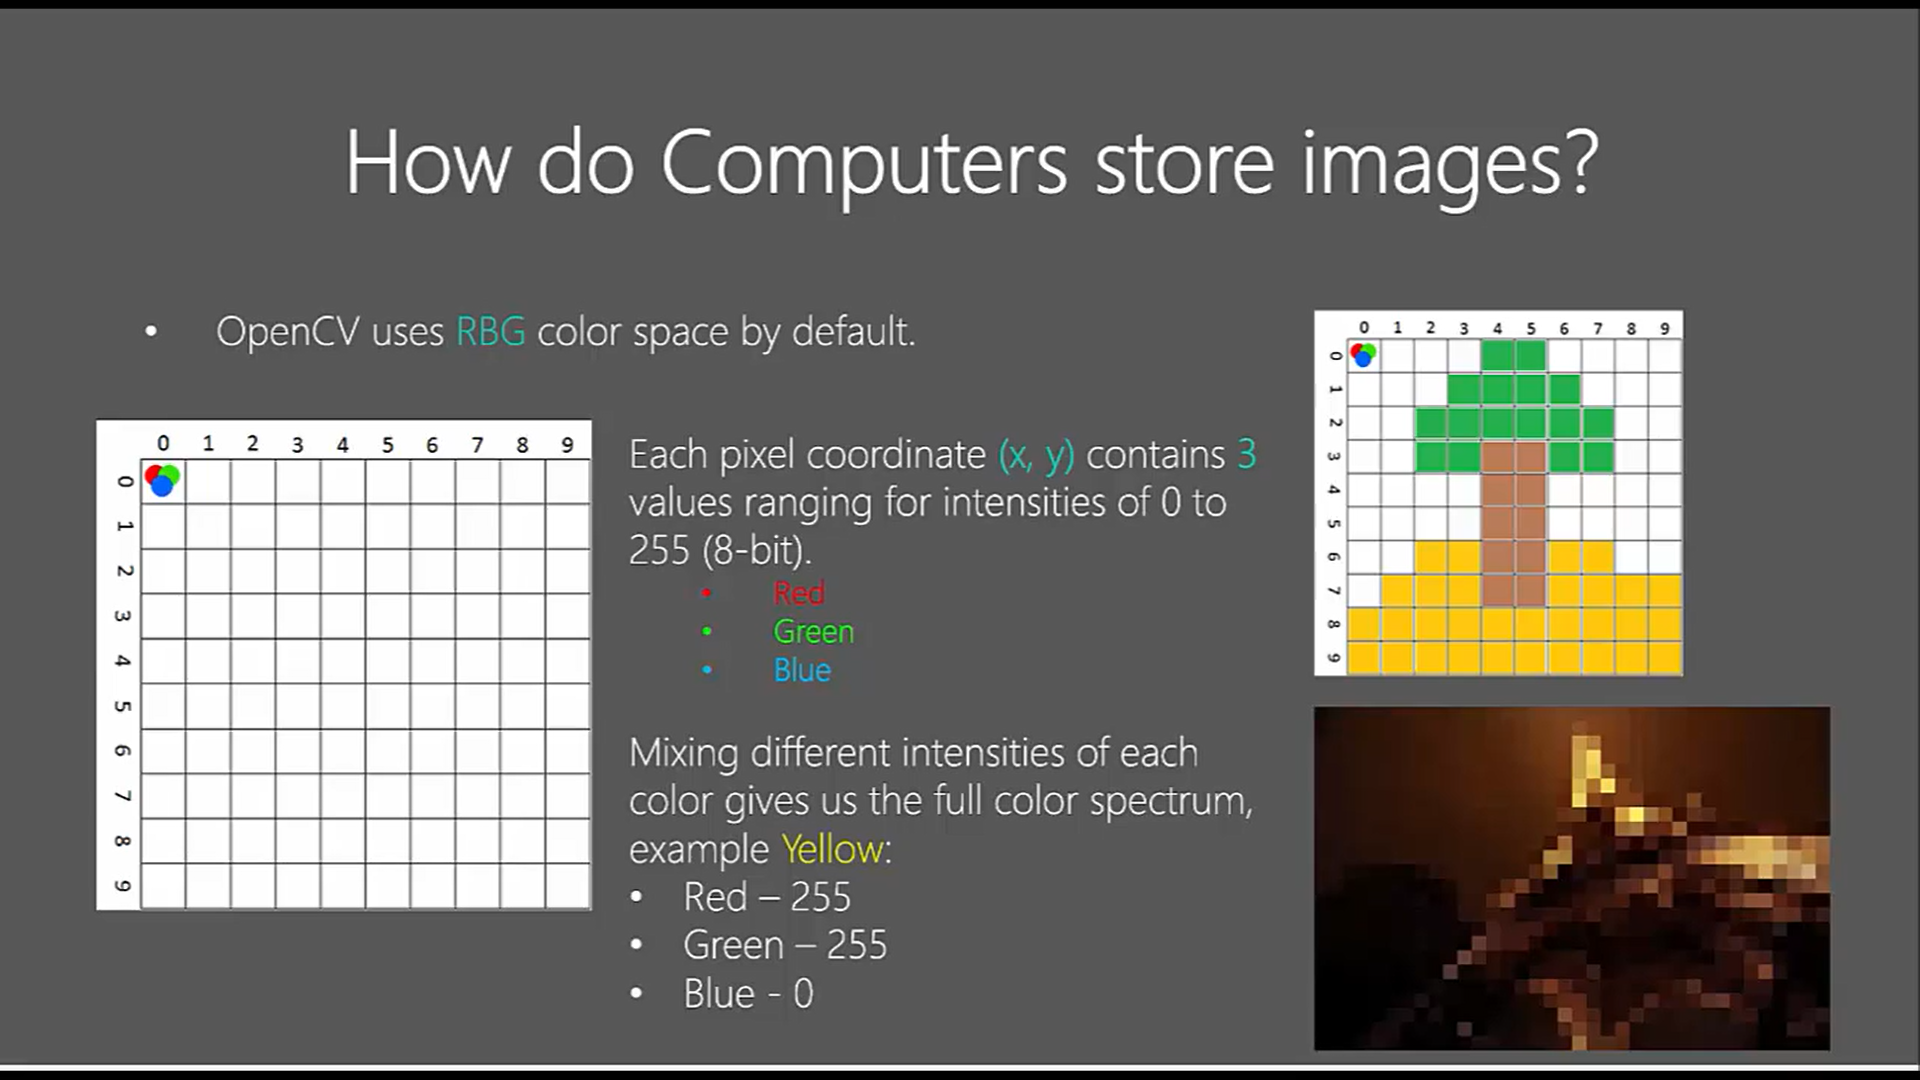
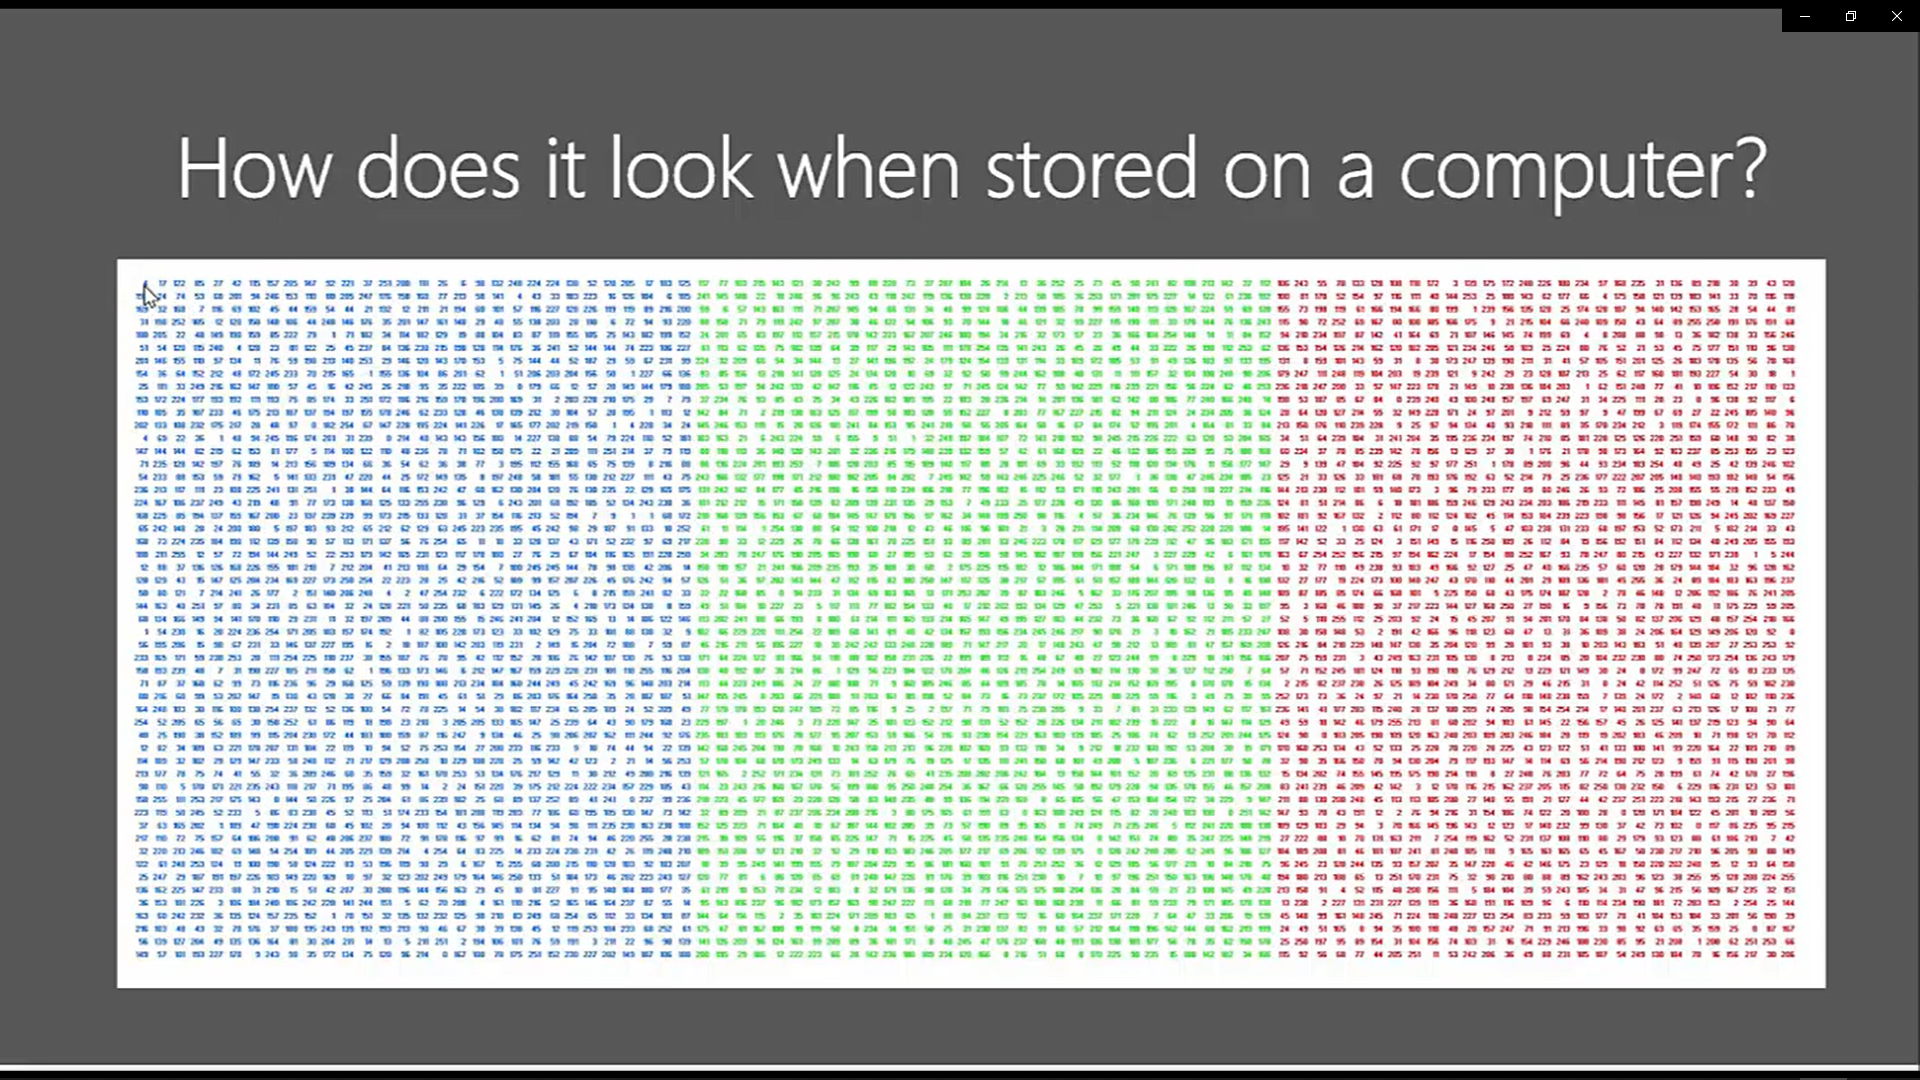
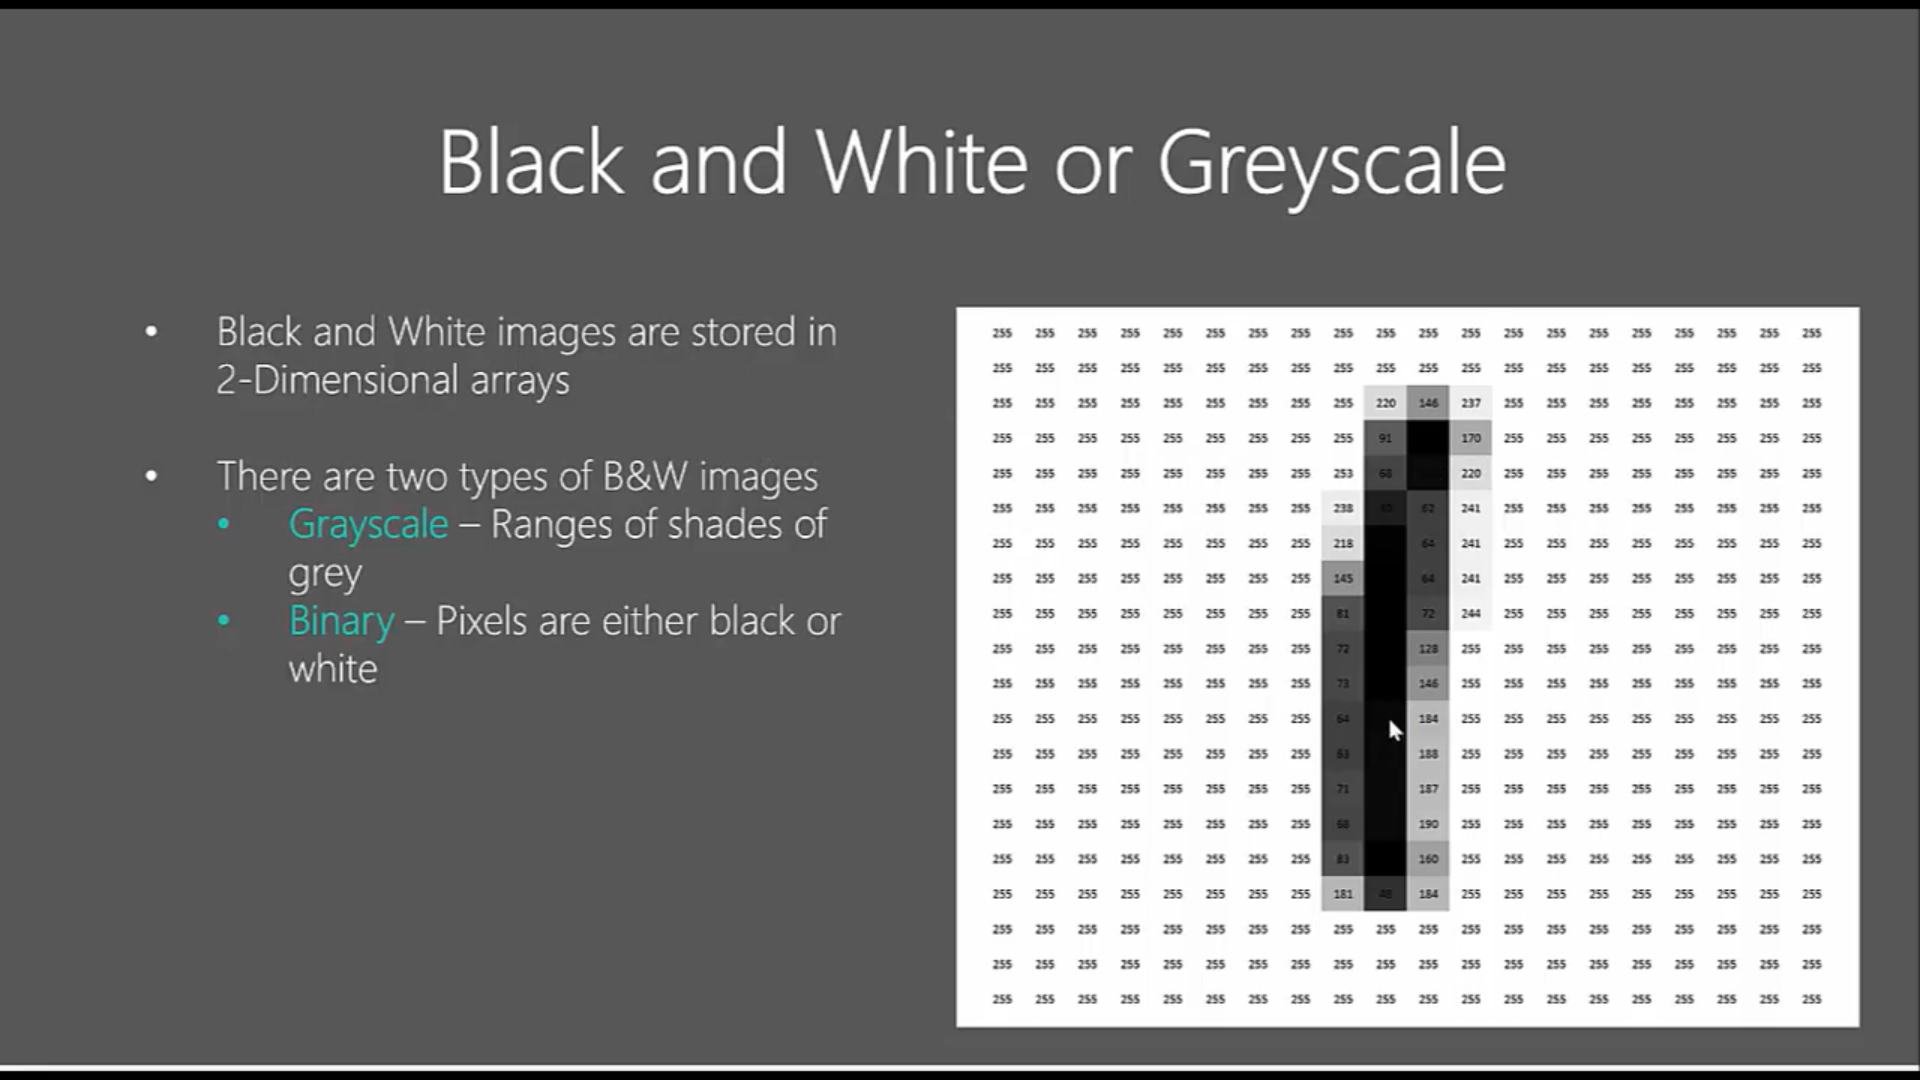
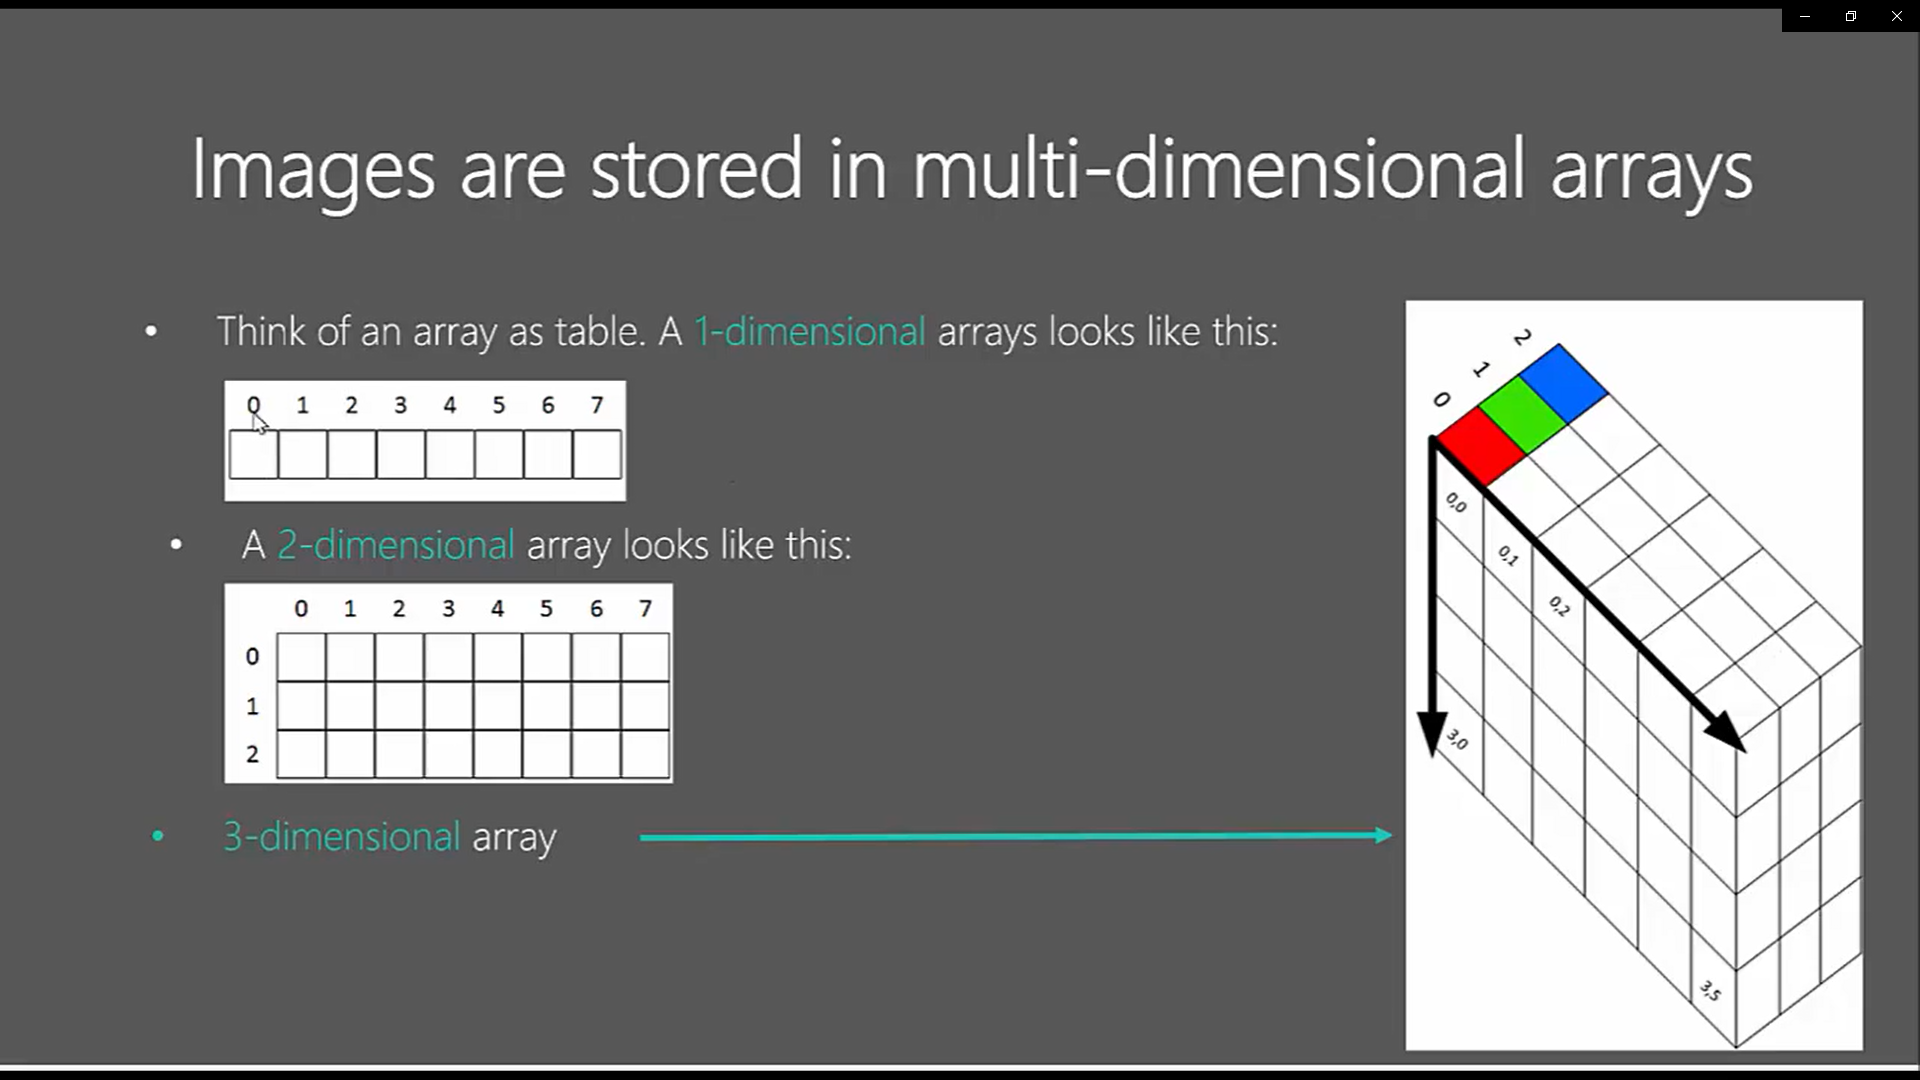
# How images are stored
Let's use the numpy.shape funtion, this will give us a tuple with the dimensions of the image, in this case print (input.shape).
Shape gives the dimensions of the image array.
The 2D dimensions are 830 pixels in high bv 1245 pixels wide.
The '3L' means that there are 3 other components (RGB) that make up this image.
print (input.shape)
(830, 1245, 3)
Let's take a look at the height and width of the image. We can isolate the height and width of the array, and we use int just to convert the value and a simple string concatenation.
With input.shape[0] for the height and input.shape[1] for the width.
print ('Height of Image:', int(input.shape[0]), 'pixels')
print ('Width of Image: ', int(input.shape[1]), 'pixels')
2
Height of Image: 830 pixels
Width of Image:  1245 pixels
2
# Saving Images in OpenCV
Simply use cv2.imwrite specifying the file name, and the image to be saved. You can save in multiple formats like .jpg and .png.
cv2.imwrite('output.jpg', input)
cv2.imwrite('output.png', input)
2
True
If It returns True the images will be on the working directory.
# Open Multiple images within a folder
In this example we have to import glog and cv2 libraries, then add the images path to a variable path.
Now we can loop through the folder and append a new element on the array cv_img.
We confirm the that we read all the files by printing the array size with len(cv_img).
After that we can loop through the array and cv2.imshow each image with a different name image pos. We also print the amount of images in the folder and number of the image to the console.
Finally, the cv2.waitKey(0) wait fot the window to be closed and the cv2.destroyAllWindows() assure the program won't break.
import glob

import cv2

path = glob.glob(r"C:\Users\Thiago Souto\Desktop\PyCharmProjects\OpenCV\*.jpg")

cv_img = []

for img in path:
    n = cv2.imread(img)
    cv_img.append(n)

lenght = len(cv_img)
print('There are {} jpg images in the folder'.format(lenght))

pos = 0
for image in cv_img:
    cv2.imshow('image {}'.format(pos), image)
    print('Image number: {}'.format(pos))
    pos += 1

cv2.waitKey(0)
cv2.destroyAllWindows()
2
3
4
5
6
7
8
9
10
11
12
13
14
15
16
17
18
19
20
21
22
23
We can also do the same using functions:
def read_img(img_list, img):
    n = cv2.imread(img, 0)
    img_list.append(n)
    return img_list
2
3
4